

Photoshop Hacks for Beginners: How to Erase Unwanted Objects From Your Pictures
When you think you have the ideal shot, has someone ever bothered to photobomb it? Alternatively, a telephone pole or errant power line can ruin the picturesque aspect of your landscape image.
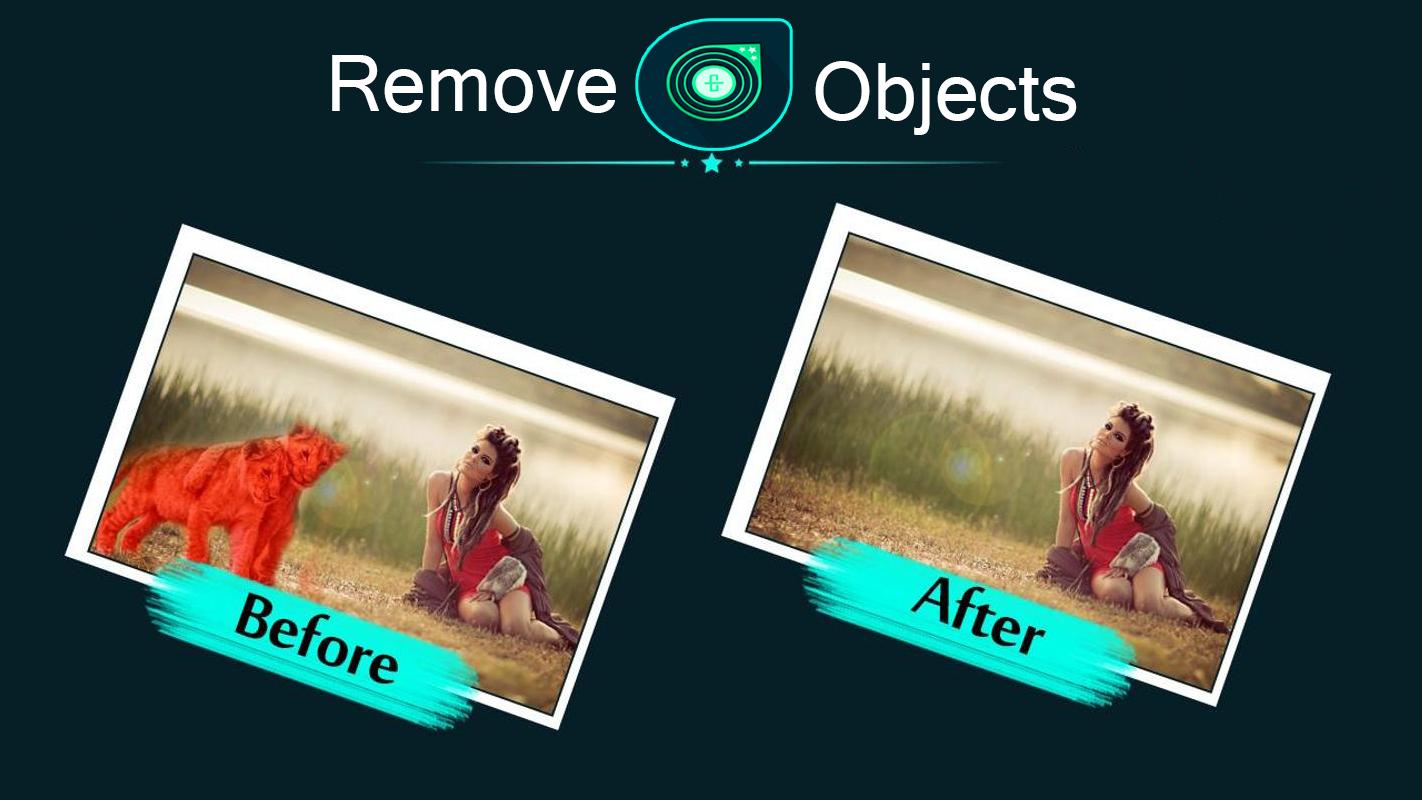
Aspiring photographers have no fear! Acquiring the ability to eliminate an object from a photograph is an important ability that can save even the worst-looking images. However, it is important to understand how to remove an object from a picture.
Professional photographers can use sophisticated techniques, but even non-experts can produce stunning images thanks to Adobe Photoshop’s magic.
This comprehensive guide explores the world of Photoshop, offering you practical tips and easy-to-follow techniques to expertly remove undesirable items from your images.
Knowing Your Tools: Your Photoshop Armory
Let’s examine the Photoshop toolkit before getting down to the details of object removal:
- The Content-Conscious Fill: After assessing its surroundings, this ingenious device neatly fills in the space left by the removed object. It’s the tool of choice in the majority of item removal scenarios.
- Spot Healing Brush: This tool takes a sample of the surrounding pixels and applies it to “heal” image flaws. It works great to get rid of imperfections or tiny items.
- Use the time-tested Clone Stamp tool to “stamp” pixels from one region of your image onto another. Replicating textures or patterns to conceal the removed object is useful.
- Patch Tool: With this flexible tool, you can drag an unwanted portion of the image to a new location, and the content from the new location will automatically fill the space.
How to Select the Best Tool for the Job
The size, intricacy, and background of the undesired object determine which tool is best for the job. Here is a brief how-to:
- Fundamental Backgrounds The best tool for objects on a plain background—like a wall or a sky—is Content-Aware fill. Its sophisticated algorithms will add realistic backdrop textures with ease.
- In-depth Backgrounds: A useful tool for complex backdrops (such as brick walls or greenery) is the Clone Stamp or Patch Tool. With the help of these tools, you may carefully duplicate and modify textures to effectively hide the removal.
- Little Things: The Spot Healing Brush is your hidden weapon for little flaws or blemishes. With the surrounding pixels, you can “heal” the region quickly and completely remove the undesirable piece.
A Comprehensive Guide to Removing the Unwanted from the Picture
Let us now utilize these instruments! Here’s how to use Photoshop to delete an object from a picture, step by step:
1. Get your picture open
Open Photoshop and select the picture you wish to modify.
2. Zoom In
To make exact selections and edits, zoom in on the region that has the undesirable object.
3. Pick Your Weapon
The best tool should be chosen based on the size and intricacy of the target.
- For larger objects with distinct boundaries, Content-Aware fill works best.
- For small, isolated items like dust particles or imperfections, the Spot Healing Brush is ideal.
- Clone Stamp Tool: Good for covering up small, complicated things or duplicating repeating patterns.
- Patch Tool: Excellent when applied to items with well-defined borders and a comparatively uniform backdrop
4. Choose Your Option
- Content-Aware Fill: With the Lasso Tool, Elliptical Marquee Tool, and other selection tools, carefully draw a selection around the undesirable object. Choose something simple and devoid of any background information that you would like to see.
- Patch Tool: Lightly select the area surrounding the undesired object. Move the entire selection to a new area of the picture with a background texture that works. Photoshop will use the content from the new place to automatically fill in the gaps.
5. Hone Your Craft
- Content-Aware Fill: It may or may not offer an ideal substitute, depending on how intricate the background is. For additional customization, use the “Content Aware Scale” toolbar option. This enables you to guarantee a more realistic-looking fill by modifying the sampled content’s rotation and scale.
- Spot Healing Brush: For optimal results, modify the brush size and sample choices. For more sophisticated blending, play around with the “Content Aware” checkbox.
6. Evaluate, then Do It Again
Step back and assess your efforts. Repeat steps 3-5 until the undesired thing is entirely removed if there are any leftovers.
7. More Complex Methods for Eliminating Items
You may experiment with more complex object removal methods as your abilities grow. Here’s a taste of what’s ahead:
Content-Aware Picker: It is now simpler to separate complicated objects from complex backdrops thanks to this advanced tool that recognizes and chooses objects based on their content.
Frequency separation is a sophisticated technique that lets you work with various textures and detail frequencies in your picture. This is useful for getting rid of objects whose textures are similar to the background.
Patch Tool Refinements: Especially for difficult backdrops, mastering sophisticated Patch Tool strategies like “Source Selection” and “Content Aware” can greatly enhance object removal outcomes.
Expert Advice for Novice Achievement
It takes practice to remove stuff with ease, as they say. Try using different tools and techniques on different types of images to hone your abilities and boost your self-assurance.
- Be aware of texture and Lighting: Consistently lit and texture-matched backdrops are ideal for Content-Aware Fill. For a more realistic-looking effect, you might need to use
- Content-Aware Fill in conjunction with other tools, such as the Clone Stamp Tool, if the background is complicated.
- Feather Your Selections: Using the “Feather” option to soften the edges of your selection can give the removed object and the surrounding area a more seamless transition. Using the Lasso Tool or Elliptical Marquee Tool makes this useful.
- Acquire Keyboard Shortcut Knowledge: You can expedite your task considerably by being proficient in keyboard shortcut usage. Learn shortcuts for common tools like the Clone Stamp Tool (S) and Spot Healing Brush (B).
- Look into Internet Resources: For those new to Photoshop, the Internet offers a wealth of tutorials and tools. To increase your expertise and learn new skills, make use of online manuals, video courses, and forums.
In Summary
Knowing these simple methods and putting them into practice can help you become an expert at eliminating undesirable things from your photos. Recall that the secret is to know your tools, know when to use them, and get better at each assignment you take on. Now open Photoshop, let your imagination run wild, and turn those grainy images into well-reproduced works of art!
Read More: How to Level Up Your Photos with Free Collage Apps: Pro Tips & Tricks