
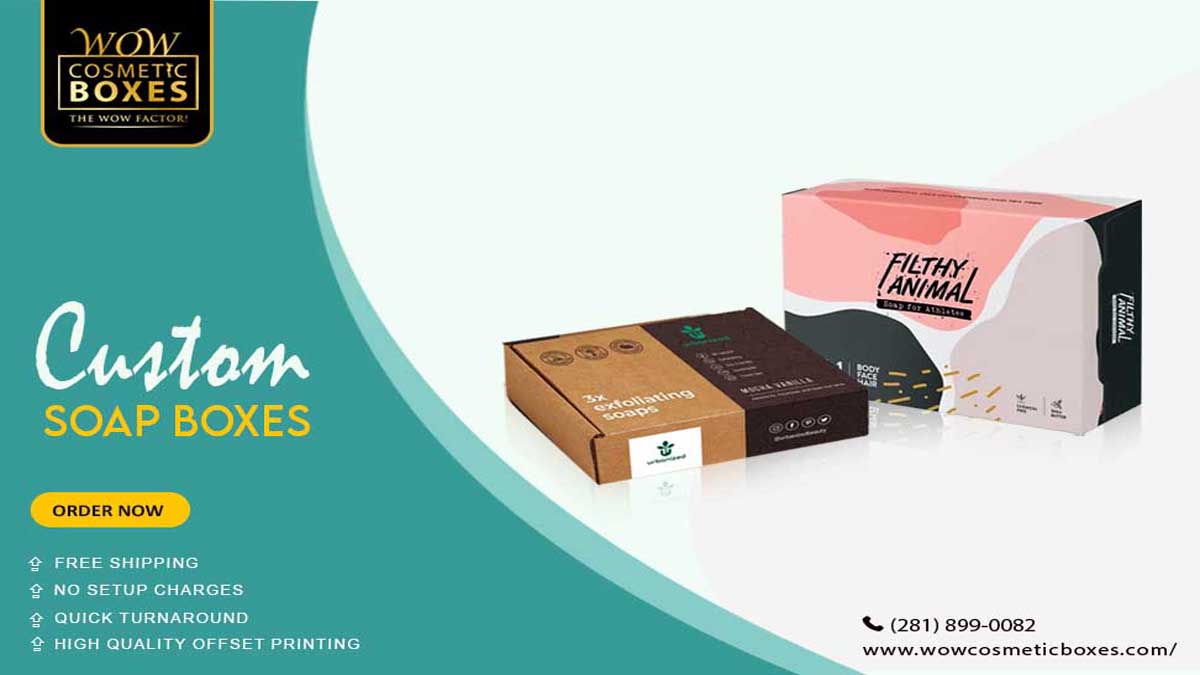
DIY Soap Packaging: How to Make Custom Boxes for Homemade Soap
Are you tired of your homemade soap looking plain and dull? Spice up your packaging game with DIY custom boxes!
In this article, we’ll show you how to create eye-catching and unique soap boxes that will make your products stand out. From designing templates to adding branding and labels, we’ve got you covered.
Get ready to unleash your creativity and elevate the presentation of your homemade soaps like never before!
Key Takeaways
- Choose eco-friendly packaging materials such as recycled cardboard or kraft paper.
- Design custom soap box templates that are durable and provide a snug fit for the soap bars.
- Use sharp scissors or a craft knife to make precise cuts and fold along the scored lines for neat creases.
- Decorate your soap packaging with colorful wrapping paper, natural materials, and custom labels to make it stand out.
Soap Packaging Materials: Gathering the Essentials
Before you start making your custom soap boxes, gather all the essential materials.
The first step in creating beautiful and unique soap packaging designs is to ensure you have everything you need. To begin with, choose eco-friendly packaging options that align with your values and appeal to environmentally conscious consumers. Consider using recycled cardboard or kraft paper for a sustainable choice.
You will also need a cutting mat, ruler, craft knife, bone folder, adhesive tape or glue, and decorative elements like ribbons or stickers. These materials will help you achieve professional-looking results while adding a personal touch to your soap packaging.
Remember to take your time and enjoy the process of creating custom boxes that reflect the essence of your homemade soaps.
Designing Custom Soap Box Templates
When designing your own soap box templates, it’s important to consider the dimensions and materials you’ll be working with. Custom soap box designs offer endless possibilities for creative packaging solutions that will make your homemade soaps stand out from the crowd.
Start by measuring the dimensions of your soap bars accurately to ensure a snug fit inside the boxes. Use sturdy materials like cardboard or kraft paper to provide durability and protection for your products.
Get creative with colors, patterns, and typography to reflect the unique qualities of your brand. Consider adding windows or inserts to showcase your beautiful soaps. Don’t forget about branding elements like logos and labels to give your custom soap box designs a professional touch.
With some imagination and attention to detail, you can create packaging that not only protects but also enhances the beauty of your handmade soaps.
Cutting and Folding the Box: Step-by-Step Guide
To cut and fold the box, start by scoring along the designated lines and then fold them inward using a ruler or bone folder. Here’s a step-by-step guide to help you create custom boxes for your homemade soap:
- Cutting Techniques:
Use sharp scissors or a craft knife to cut along the solid lines of the template. Take your time and make precise cuts to ensure clean edges. If you’re using a craft knife, be sure to place a cutting mat underneath to protect your work surface. - Folding Tips:
After cutting, use a ruler or bone folder to score along the dotted lines. This will make folding easier and give your box neat creases. Fold each scored line inward, using the ruler or bone folder to press down firmly for crisp folds.
Decorating Your Soap Packaging: Tips and Ideas
Get creative with your soap packaging by exploring various decoration techniques and incorporating unique ideas that reflect your personal style.
In today’s soap packaging trends, there are countless ways to make your handmade soaps stand out on the shelves. One popular idea is to use colorful wrapping paper or fabric to wrap each individual bar of soap. This not only adds a pop of color but also protects the soap from damage.
Another creative packaging idea is to use natural materials like twine or ribbon to tie around the soap, giving it a rustic and eco-friendly look. You can also consider using custom labels or stickers with your brand logo or personalized messages for a professional touch.
Don’t be afraid to think outside the box and experiment with different textures, patterns, and materials when designing your soap packaging. Your imagination is the limit!
Adding Branding and Labels to Your Custom Soap Boxes
Make sure you include your brand logo and personalized messages on the labels for a professional touch to your soap boxes. Custom soap labels are an essential part of creating personalized soap packaging that stands out from the crowd.
Here are some tips to help you create eye-catching labels for your custom soap boxes:
- Choose high-quality materials: Opt for durable materials that can withstand moisture and won’t easily tear or smudge.
- Design with creativity: Use vibrant colors, unique fonts, and captivating graphics to make your labels visually appealing.
- Highlight key information: Include important details like the name of your soap, ingredients, and contact information.
Assembling Your Homemade Soap Boxes: Expert Techniques
When assembling your homemade soap boxes, it’s important to follow expert techniques for a professional and polished final product. To ensure success, here are some expert tips and troubleshooting techniques to help you along the way.
Firstly, make sure you have all the necessary materials ready, including your custom-designed box template, adhesive or tape, and a bone folder for crisp folds. Carefully cut out the template and fold along the designated lines using the bone folder for precise creases.
Next, apply adhesive or tape to secure the flaps of the box together. Be mindful of any excess glue that may seep out; gently wipe it away with a damp cloth for neatness.
If you encounter any issues during assembly, such as warped edges or misaligned folds, use gentle pressure from your fingertips or a ruler to realign and reshape them.
Remember to take your time and pay attention to detail throughout the process. With these expert tips and troubleshooting techniques, you’ll soon have beautifully assembled homemade soap boxes ready for packaging your delightful creations.
Final Touches and Finishing: Presentation Tips for Your Soap Packaging
For a professional and polished presentation, don’t forget to add decorative ribbon or labels to your soap packaging. These final touches can elevate the aesthetics of your soap packaging and make it stand out from the crowd.
Here are some creative presentation ideas to make your soap packaging truly unique:
- Use different colors and patterns of ribbons to match the scent or theme of each soap.
- Personalize your labels with custom designs or handwritten notes for a personal touch.
- Consider using eco-friendly materials like recycled paper or biodegradable ribbons to align with sustainable values.
By incorporating these creative ideas into your soap packaging, you can create an eye-catching display that not only protects your soaps but also adds a touch of elegance and charm.
Conclusion
So there you have it, a complete guide on how to make custom boxes for your homemade soap. By following these steps and using your creativity, you can create unique and eye-catching packaging that will make your soap stand out from the crowd.
Imagine this: You’ve just created a batch of beautifully scented lavender soap, and now it’s time to package it. With your custom-made boxes adorned with delicate lavender illustrations and a personalized label showcasing your brand name, customers will not only be captivated by the scent but also by the stunning presentation.
This attention to detail will leave a lasting impression on customers and keep them coming back for more of your handmade creations. So go ahead, unleash your inner artist, and start designing your own soap packaging today!