


How I Restored My Windshield: A Step-by-Step Guide to Autoglass Crack Repair
Have you ever found a crack in your windshield? It can be a shocking moment. You might feel frustrated and unsure about what to do next. Fortunately, repairing a windshield crack isn’t as complicated as it seems. In this blog, I’ll walk you through my experience with auto glass crack repair, sharing tips and steps to help you tackle this task yourself.
NOTE: If you’ve been putting off that windshield crack repair, now is the time to take action. Gather your supplies, follow this step-by-step guide, and restore your windshield to its former glory. Remember, taking care of your vehicle glass is essential for your safety and can save you money in the long run. Happy repairing!
Understanding Windshield Cracks
Windshield cracks can happen for many reasons. A small stone hitting your glass while driving, a sudden change in temperature, or even a bump in the road can cause these annoying cracks. It’s essential to deal with them quickly to avoid more significant problems later.

Why You Should Repair Cracks Quickly
Ignoring a crack can lead to more damage. Over time, dirt and moisture can get into the crack, making it harder to repair. Moreover, larger cracks may obstruct your view and compromise the safety of your vehicle. Fixing a crack promptly can save you money and help keep your windshield in good shape.
Preparing for the Repair
Before you dive into the repair process, you’ll want to gather some essential tools and materials. Here’s what you’ll need:
Tools and Materials You’ll Need
- Windshield Repair Kit: You can find these at auto parts stores or online. They usually come with a resin, injector, and instructions.
- Cleaning Cloth: A lint-free cloth will help you clean the area around the crack.
- Rubbing Alcohol: This is great for cleaning the crack and surrounding area.
- Masking Tape: Use this to outline the area around the crack to keep it clean during repair.
- Utility Knife: You may need this to remove any loose pieces of glass.
- Safety Glasses: Protect your eyes while working with glass.
Choosing the Right Time
It’s best to perform autoglass crack repair on a dry day. If it’s rainy or too humid, the moisture can interfere with the resin. Make sure to choose a well-lit area, either outside or in a garage with good lighting, so you can see what you’re doing.
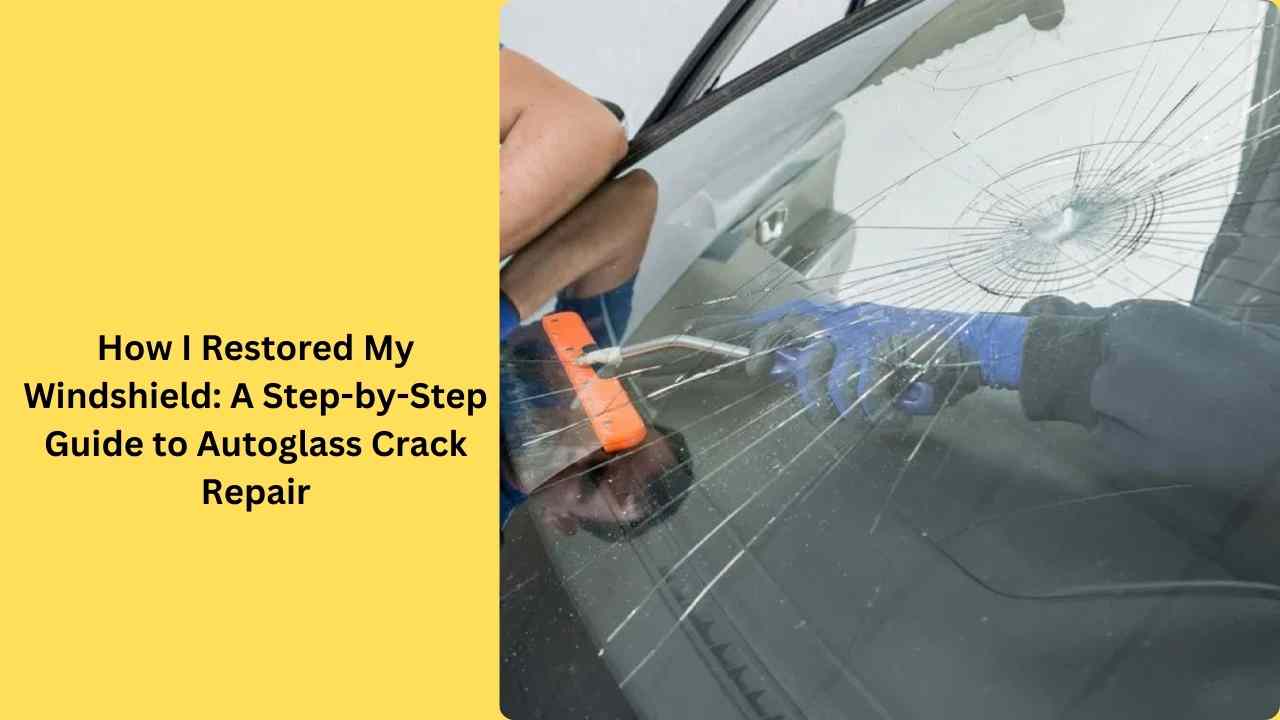
Step-by-Step Guide to Repairing Your Windshield Crack
Now that you have your materials ready, it’s time to start the repair. Follow these steps carefully for the best results.
Step 1: Clean the Area
Using your cleaning cloth and rubbing alcohol, clean the area around the crack. This step is crucial because dirt or debris can interfere with the resin’s ability to bond. Make sure the area is completely dry before moving to the next step.
Step 2: Inspect the Crack
Look closely at the crack. If it’s less than six inches long, you should be able to repair it yourself. If the crack is longer or if it has multiple branches, it’s better to call a professional for autoglass crack repair.
Step 3: Apply Masking Tape
Use the masking tape to outline the area around the crack. This will help keep the repair area clean and make it easier to remove any excess resin later.
Step 4: Prepare the Resin
Open your windshield repair kit and follow the instructions for preparing the resin. Some kits require you to mix the resin with a hardener. Make sure to work in a well-ventilated area and wear your safety glasses.
Step 5: Inject the Resin
Place the injector tool directly over the crack. Press down to inject the resin into the crack. If your kit includes a suction cup, you may need to use that to create a vacuum and pull the air out of the crack first. This step helps the resin fill the crack completely.
Step 6: Let It Cure
Once the resin is injected, allow it to cure for the time specified in the instructions—usually around 20 to 30 minutes. Make sure to avoid touching the area during this time.
Step 7: Remove Excess Resin
After the resin has cured, carefully remove the injector and any masking tape. Use a utility knife to scrape away any excess resin around the crack. Be gentle to avoid scratching the glass.
Step 8: Final Clean-Up
Wipe the area with a clean cloth to remove any dust or debris. Take a step back and admire your work! If done correctly, the crack should be much less visible and, more importantly, structurally sound.
Tips for Successful Autoglass Crack Repair
Here are a few extra tips to ensure your repair goes smoothly:
- Follow Instructions: Always read and follow the instructions provided with your windshield repair kit.
- Work Quickly: Resin can set quickly, so try to complete the process without long pauses.
- Check for Bubbles: After injecting the resin, check for any air bubbles. If you see them, you might need to apply a bit more pressure to ensure the resin fills the crack completely.
- Don’t Rush: Take your time to clean and prepare the area properly. A rushed job may lead to poor results.
When to Call a Professional
While repairing small cracks yourself can be rewarding, there are times when it’s best to call in a professional. If the crack is more than six inches long, if it’s located in the driver’s line of sight, or if you’re not comfortable doing it yourself, seeking professional help is the safest option.
Benefits of Professional Repair
- Expertise: Professionals have experience and know the best methods to repair different types of cracks.
- Quality Materials: They use high-quality resins that may not be available in DIY kits.
- Guaranteed Work: Many professional services offer guarantees on their repairs, giving you peace of mind.
Maintaining Your Windshield After Repair
Once you’ve successfully repaired your windshield, it’s essential to maintain it properly to prevent future damage.
Tips for Maintenance
- Avoid Extreme Temperatures: Try to park your car in the shade during hot weather and avoid running your heater on high in cold weather.
- Keep It Clean: Regularly wash your windshield to remove dirt and grime. This helps keep any future cracks from forming.
- Watch for New Cracks: Keep an eye on your windshield and address any new cracks or chips immediately.
Conclusion
Repairing your windshield doesn’t have to be a daunting task. With the right tools, a little patience, and careful attention to detail, you can successfully perform autoglass crack repair yourself. This DIY project not only saves you money but also gives you a sense of accomplishment.
For more insightful articles related to this topic, feel free to visit todaybusinessposts
